Showing posts with label craft kit. Show all posts

Friday, January 10, 2014

Great New Deal for those wanting to try Paper Pumpkin!

My Paper Pumpkin is a great little crafty getaway and for a limited time they are making the deal even sweeter.  

Each month you receive in the mail a gorgeous little orange box filled with everything you need to make that months project. Projects vary from cards, to brag books, and gift type items so far. It is a great little surprise each month and perfect for those that have little time to work on a project and do not want to purchase tons of supplies. It also makes a nice gift for kids, and retirees. If you do not want it for yourself, I am sure you can think of someone, a grandchild, niece, or someone in a retirement/nursing home that would LOVE to get this surprise mailed directly to them each month! 


And now through Feb 10th you can get a free set of In Color Markers FREE when you sign up for a new membership!


Click on the link or photo above to be taken to the My Paper Pumpkin website for more information. If you need any help getting signed up please let me know!

Friday, July 19, 2013

July My Paper Pumpkin Kit

The My paper pumpkin kit for July arrived Tuesday! It is fun to get something in the mail each month and not know what it is! For the most part I never get anything that I do not already know is coming. Even for Christmas and my birthday do I rarely get a surprise so these are really nice. It's like a Christmas present every month! 


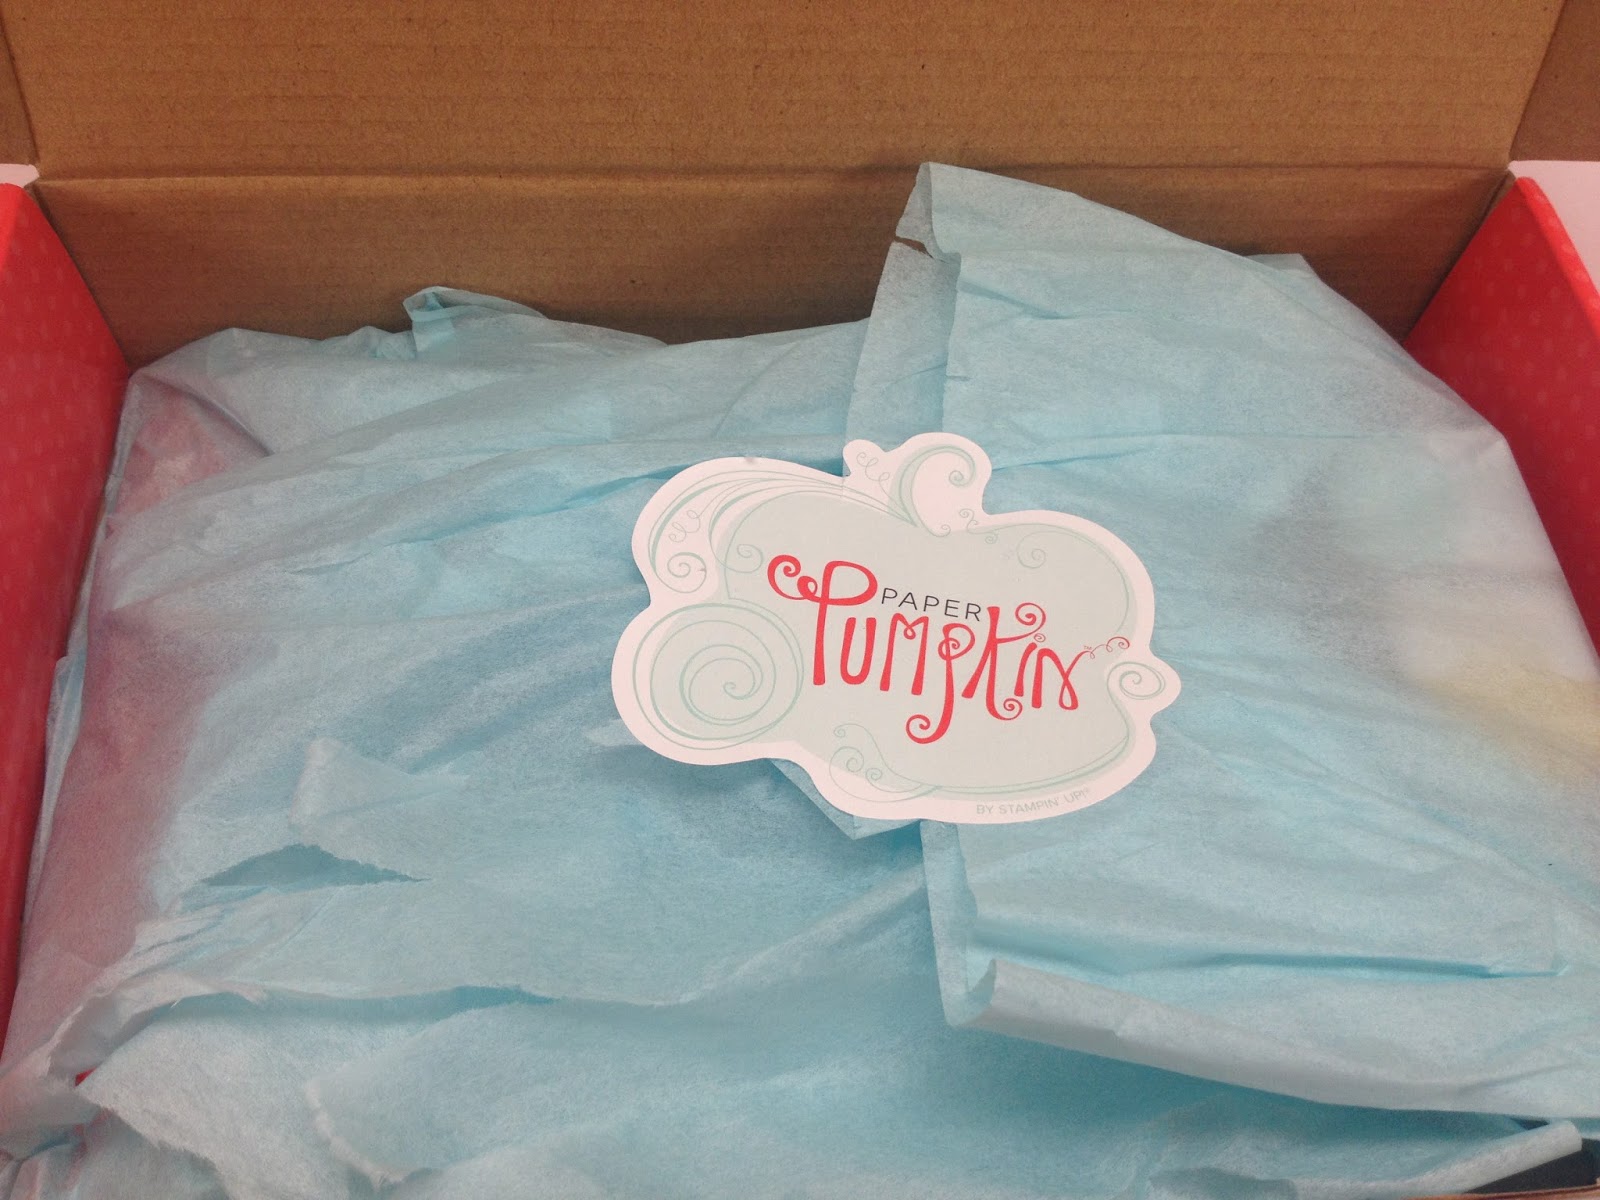
They arrive in pretty orange boxes and this beautiful pool party tissue paper. 


 This months kit is a banner kit! It is adorable! 


You get your picture with directions on how to assemble the kit, 


and all the contents! This one has 2 ink spots! Summer starfruit and pool party, tiny little clothespins, skewers, die cut banners, foam dimensionals, and 3 stamps! This has been the best kit yet I think! 


I really like these stamps. It is nice to have stamps to give a background to different things. 

Now to just figure out what I am going to do with this set. If I had not already had my catalog kick off party I would have used it on my table setting. No birthday's coming up in the family for the near future so I will just have to find something else to use it for. 

Wednesday, July 17, 2013

Totes and Bows

I made some more of the cute little card and tote sets that we will be making this month during my classes. I wanted to show more of the colors so made a couple more sets. I did not get the pistachio one made yet but hope to this week. 

My pre-order from the Holiday Catalog also arrived and I was able to play with some things in it. I am LOVING the bow die. I did not think that was something that I would use, but it is soooo cute that I just keep playing with it and putting bows on everything!


3 of the 4 color choices for the upcoming classes. Credit goes to Chiaki Haverstick for the card and tote design.


This is the crisp cantaloupe option. Didn't think I would like this color much when they came out, but it is really growing on me. 


Here is one of the bows made with the bow die! See isn't it adorable!!


Another bow using the same die but with the tails turned differently and another one layered on. This die makes 2 different size bows that you can use to make many looks. 


Here is the coastal cabana set. Everyone seems to adore this color! It is so pretty in real life. 

If you wish to stop by and take part in this class, there are openings on July 25 or 26.  Just contact me and chose your color! If you are not in this area but would like to take part in this class, I can mail you a class packet but you will need to stamp images using stamps you have or you may order the ones we used. 

Wednesday, June 19, 2013

Digital Downloads


Here are this weeks newest downloads from Stampin' Up!


These chore cards will come in handy around here this summer with 4 kids wanting to earn extra money for things!
Chores & More Designer Template - Digital Download134806
Regular Price$3.28
Preferred Price$2.95

Everybody's Business Designer Series Paper - Digital Download133499
Regular Price$7.72
Preferred Price$6.95

Hooray For Today Stamp Brush Set - Digital Download133498
Regular Price$11.06
Preferred Price$9.95

Lovely Romance Stamp Brush Set - Digital Download134799
Regular Price$4.39
Preferred Price$3.95

Memory Milestones Baby Photobook Template (11" X 8-1/2") - Digital Download134759
Regular Price$22.17
Preferred Price$19.95

Friday, April 19, 2013

Cute new kit!

Another Brand new kit just released from Stampin' Up!


We're excited to introduce our second Submit a Project kit--the Dolled-Up Birthday Kit--voted on by you via our Facebook page. This gorgeous birthday card was created by Chris Gilmore, a manager from Coshocton, Ohio. Congratulations, Chris!


The Dolled-Up Birthday kit includes the following:
  • Dolled-Up Birthday Photopolymer Stamp (1)
  • 8-1/2" x 5-1/2" Crumb Cake Cardstock (6 pieces)
  • 2" x 4-1/4" Very Vanilla Cardstock (6 pieces)
  • Very Vanilla Medium Envelopes (6)
  • Tea Lace Paper Doilies (6)
  • Dress Up die-cuts (6)
  • Soft Suede Classic Stampin' Spot (1)
  • Vanilla 5/8" Flower Trim (6 pieces)
  • Sponge Dauber (1)
Get everything you need to make six cards for only $15.95 (item 133913)!*

To assemble one card, follow the instructions below:
  1. Place the stamp on clear-mount block D or H rubber side up and ink with the Soft Suede Classic Stampin' Spot.
  2. Stamp "Happy Birthday" at the bottom of the card front.
  3. Ink the Sponge Dauber with Soft Suede ink and gently antique the doily and the edges of the dress form.
  4. Adhere the pieces to the card front in this order:
    • Doily
    • Very Vanilla Cardstock
    • Dress form
    • Flower
*Adhesive not included


Thursday, March 21, 2013

My paper pumpkin has arrived!


So it arrived in my mailbox on Monday. It did not come in the pretty red box but a cute little kraft box that I am sure to re-use for something. They will start coming in the red boxes soon, they had more orders than they had planned.


So I went ahead and put the cards in the kit together. I wanted to use ONLY what was included in the kit except adhesive to do the cards first. This is what I came up with, I wanted to vary them some. I think I will take them later and add to them some to show what you can do with just a few extra items.


These first 3 I done and had completed in under 10 minutes. Then I decided to give the rest of the product to my sons girlfriend who is 15 and has never stamped before and when she looked at it she saw a tree. So this is what she came up with. 


If you would like to get a wonderful box of crafting goodies in the mail each month, go to www.mypaperpumpkin.com  and sign up! Make sure to add me Tanya Stottlemire as your demo.
Code line 7 9 is for loading jQuery library. Remove this line if you’ve already loaded it somewhere else in your blog. Hint: If your blog has an image slider, carousel or something with fading effect running, chances are it is powered by jQuery. If this widget doesn’t work, the first thing you want to do is comment out or remove this line. To use your own button, replace the URL in line 3 with the direct link URL to the image. Make sure to keep the quotes. To reposition the button, replace