Showing posts with label demonstrator. Show all posts

Friday, July 19, 2013

July My Paper Pumpkin Kit

The My paper pumpkin kit for July arrived Tuesday! It is fun to get something in the mail each month and not know what it is! For the most part I never get anything that I do not already know is coming. Even for Christmas and my birthday do I rarely get a surprise so these are really nice. It's like a Christmas present every month! 


They arrive in pretty orange boxes and this beautiful pool party tissue paper. 
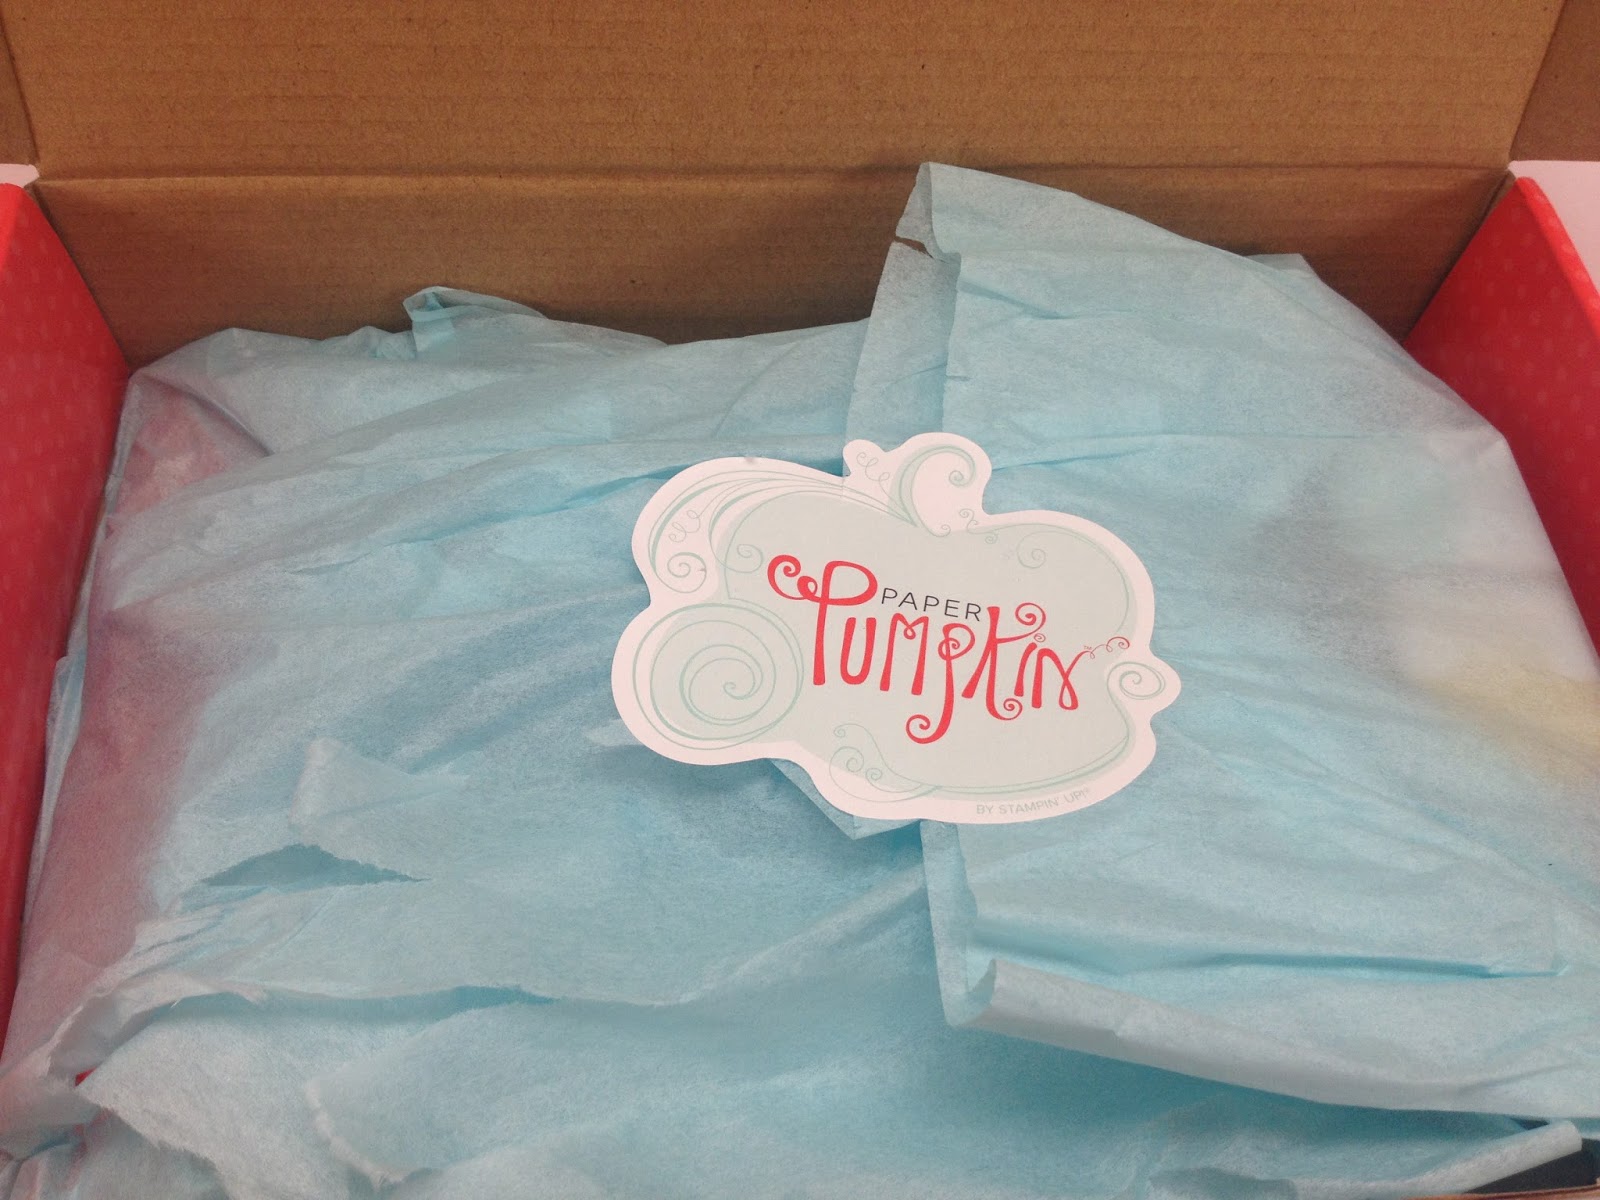


 This months kit is a banner kit! It is adorable! 


You get your picture with directions on how to assemble the kit, 


and all the contents! This one has 2 ink spots! Summer starfruit and pool party, tiny little clothespins, skewers, die cut banners, foam dimensionals, and 3 stamps! This has been the best kit yet I think! 


I really like these stamps. It is nice to have stamps to give a background to different things. 

Now to just figure out what I am going to do with this set. If I had not already had my catalog kick off party I would have used it on my table setting. No birthday's coming up in the family for the near future so I will just have to find something else to use it for. 

Thursday, July 18, 2013

small bows

After making those bows with the bow die, I wanted to do some small paperclip bookmarks. So I got out my oval punch, hot glue gun, hexagon punch and small circle punch to make these cute little bows. 


I made about 30 little bows in under an hour. They are really easy. Then I thought since I had so many I would add them to a tag from the now retired :( two tags die, slip a business card onto the back and pass them out. They are just too darn cute to keep all to myself. 

Tuesday, June 4, 2013

Father's Day Cards


Love this cute card! This would be wonderful for father's day, graduation, or a wedding. This card idea came from The Craft Spa blog.  I love how simple it was to make but that it also has a great impact. Looks great with a black bow tie also!


The card base is 4 1/4 x 5 1/2 done in basic black, the white panel is 3 1/2 x 5 1/4 and then I went in 1 3/4" and used my trimmer to cut up about one inch in the center so that I could make the cuts for the flagged end.
I used my score board and scored three lines on each side of the white panel to give it the raised look. Stamped two of the ties from the dapper dad set and cut them out, then placed glue in the center of the tie and layered them, bending the ends of the top tie up for dimension. Added 3 colored pearls for buttons and my sentiment.
Tip for the pearls:  You can color them with a sharpie to make pearls to match all your cards!


A clean and simple card cased from this blog. Apparently she case'd it also! Love that we can find so many ideas from the internet!

This was one of the cards at my masculine card class tonight.


Very simple cute card to make for the Golfer in your life!

Thursday, May 2, 2013

The new "Best of" set for May

Released yesterday ( I know I am slow but yesterday was a busy day!) The May Best Of Stamp Set is now available.  So what is it you wonder? We have had butterflies, birthdays, flowers and love, so what could it be this month? How about the best of Brides and Babies!

You can click directly on the picture to go to my store and order or you can go here.
These special limited time Best of Sets are available to order until March of 2014, and there is a special collector card included. If you collect 6 of the stickers, you can redeem the card for a set FREE!


Tuesday, April 2, 2013

Project Life update.


Project Life 

If you have been to my blog around the beginning of the year, you know I had intentions to do a Project Life album.  I don't know about you but I always have good intentions to do something (especially around the beginning of a new year) that don't always work out.  I took some pictures here and there but not regularly (with the exception of Disney and I have too many from that, lol) Anyway, here it is the beginning of April and I have not done ANYTHING with project life except upload some pictures from my phone to my computer. Notice I didn't say to be printed but at least they made it to my computer right?  Well that is about to change. With the introduction of Stampin' Up!'s This and That line, it made my renew my goal of completing a project life album this year.  At the moment I am not using all SU products, that may change when I see what all they have in the new IBC, but for now I am using a mixture of SU and a project life core kit. The kit I bought came with an album and it's cute but I prefer the crumb cake linen album I bought from SU for it so I am keeping it for this years album.  I am using the project life protectors as well as the SU divided page protectors because they give me some different layout options so I won't get bored with the same layout over and over.  And the new Rotary Stamp from Stampin' Up! will work wonderfully with this project!!!  The kit arrived in the mail yesterday and after the boys track meet I opened it and got busy uploading my photos to Walmart but that has been it so far.  The photos will get picked up this evening and I hope to show you all a cute layout or two by tomorrow evening! 

Saturday, March 23, 2013

Another Sneak Peek item!

To say I am excited about these products is an understatement!  If you have been reading my blog, I have wanted to start a project life album this year. Part of my problems were I wanted to use only SU products so that I could show them on my blog and I am using the album and divided protectors but many other items are not SU. NOW I CAN USE STAMPIN' UP! ITEMS!!  I am super excited about the rotary date stamp and washi tapes. The fact that we can order these new catalog items early and at a bundled discount just makes it that much better!!

To see a closer picture click here!  To order this or any other product contact me or use online ordering 24/7

Want to earn free products! Host a Stampin' Up! party!  We can do an online party or in home party. Contact me for details. 

Saturday, March 16, 2013

Book marks


Ok, so while you are reading this I will be at a vendor fair. Please wish me luck! This is one of the items I took with me today. These are crumpled flower bookmarks. I have used some double sided DSP, some current and some retired to make these adorable scalloped flowers and turned them into really cute bookmarks. I hope the people at the craft show think they are as cute as I do. Hopefully not everyone has turned to reading all their books on a Kindle like I do making bookmarks obsolete, lol. 
If you are in the area, the vendor fair/quarter auction is taking place at the Village Inn and Suites in Coshocton at 1pm today. Come see me! 

Thursday, March 14, 2013


Time is running out! Sale-a-bration is almost over! Did you get all the free products you were wanting?
If not contact me or place an order online 24/7 to get yours before they are gone!

There are 19 available products that you can receive for placing any order over $50. Now is the time to order that stuff from the Spring catalog that you have been holding out on. Why not get extra stuff for free! 

Also, this is a terrific time to join Stampin' Up! as a demonstrator. Your kit is still only $99 shipping including but instead of $125 in products that you get, you will receive over $150 in products! AND they can be ANYTHING that you want. The kit is not pre-selected for you. Have you been wanting a Big Shot? Why not join and get it in your kit along with a die and embossing folder or two! Get the products you want.

Click here to Join Now and be Stamping in just a few days!
Code line 7 9 is for loading jQuery library. Remove this line if you’ve already loaded it somewhere else in your blog. Hint: If your blog has an image slider, carousel or something with fading effect running, chances are it is powered by jQuery. If this widget doesn’t work, the first thing you want to do is comment out or remove this line. To use your own button, replace the URL in line 3 with the direct link URL to the image. Make sure to keep the quotes. To reposition the button, replace